For agentic button generation where buttons are dynamically created based on conversation context, use the buttons system tool inside a Playbook instead of the Buttons step.
Using the Buttons step
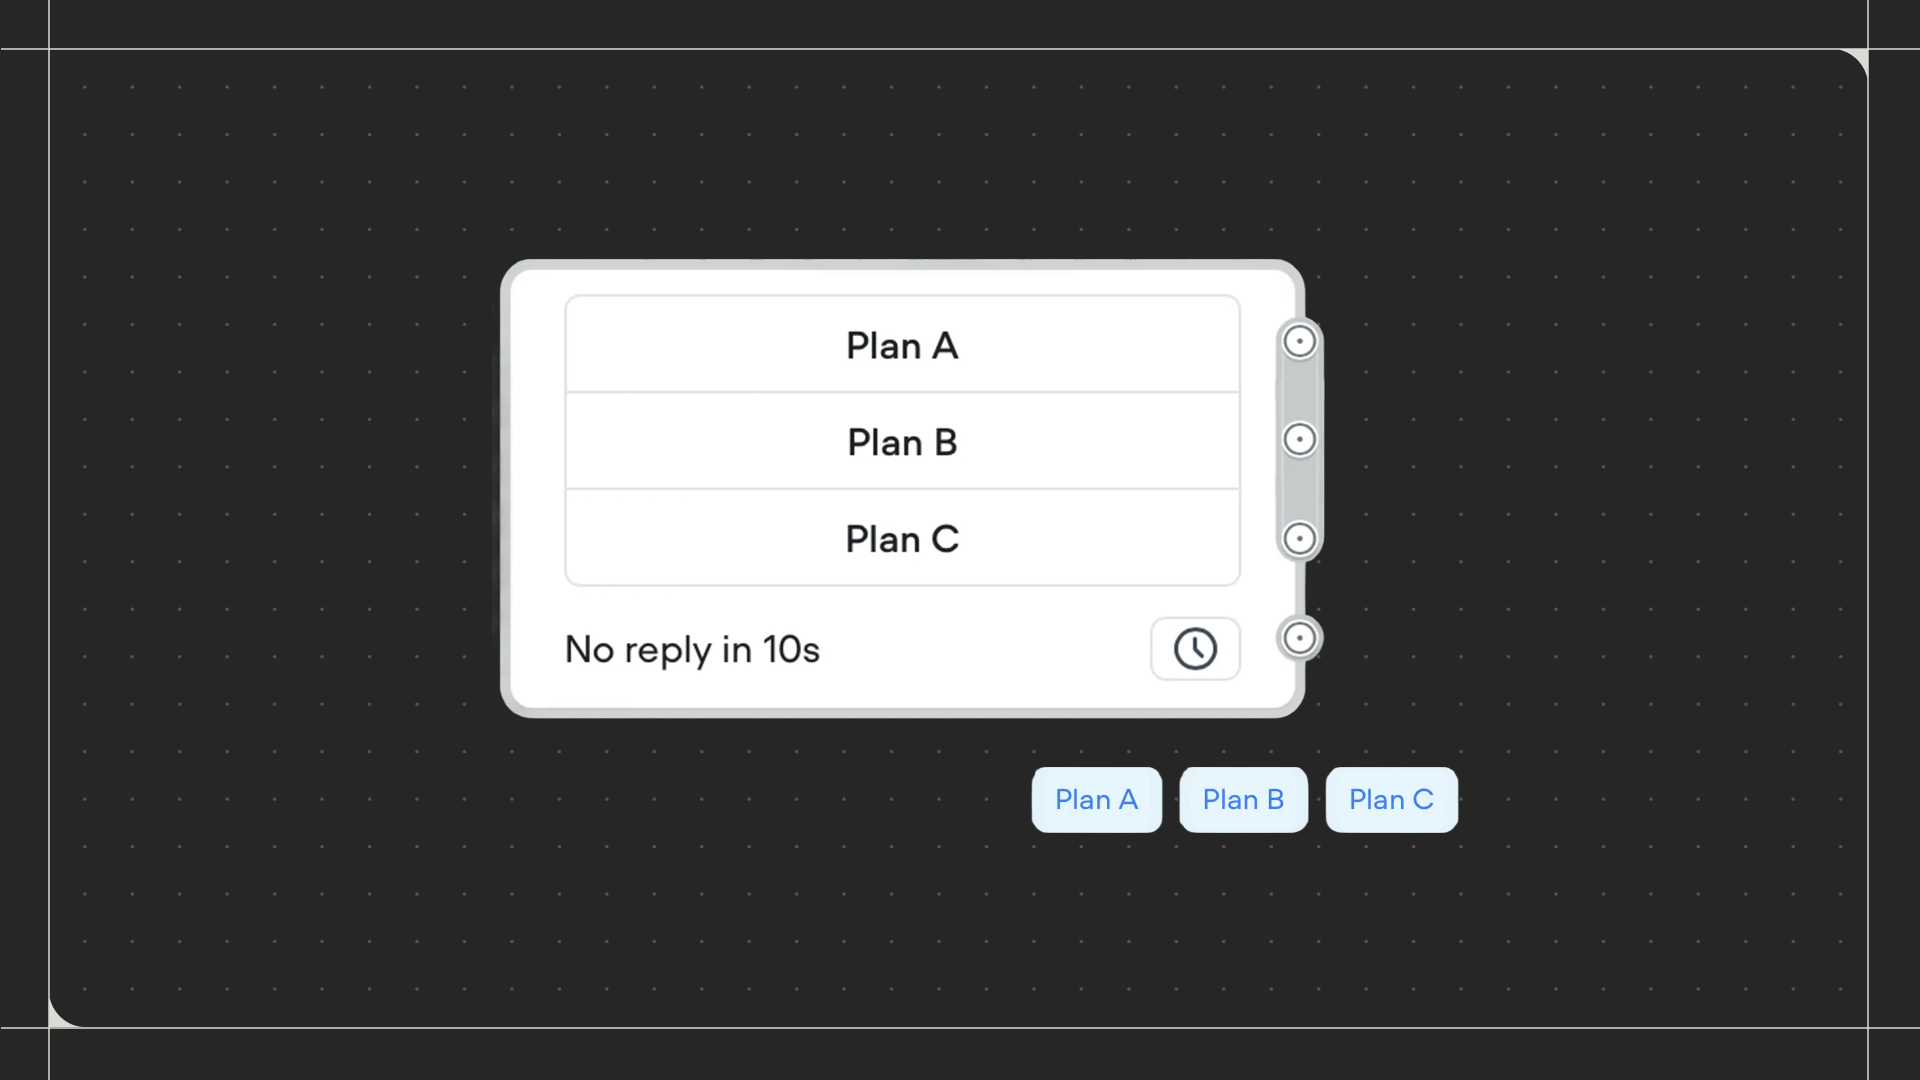
Drag the Buttons step onto the canvas and connect it to the step before it. Click on the step to add and configure your buttons. Click the + icon to add a button. Enter a button label using text or a variable. You can add multiple buttons by clicking Add another.Using the Buttons step
Drag the Buttons step onto the canvas and connect it to the step before it. Click on the step to add and configure your buttons.
Configuration
- Button: Enter the text that appears on the button. You can use variables by wrapping them in curly braces (eg:
{product_name}). - URL: Optionally add a URL that opens when the button is clicked. Choose whether it opens in a new tab or the existing tab. The workflow will still continue down the button’s connected path even when a URL is set.
Additional settings
- No match: When enabled, handles situations where the user’s response doesn’t match any button label. Your agent can send a message or follow a path in situations where the user’s response is invalid.
- No reply: When enabled, handles situations where the user doesn’t respond within a specified time. Your agent can either send messages periodically or follow a path after the specified time.
- Listen for other triggers: When enabled, allows your agent to recognize and respond to events, DTMF inputs, and route to Playbooks attached to your Agent while waiting for a button selection. When disabled, the agent only responds to button clicks.