The web chat widget is only available for projects that were set as the web chat type upon creation. Phone projects cannot use the web chat widget.
Adding the widget to your website
Before adding the widget, you’ll need to publish a production version of your agent. Once published, open the Widget tab in the sidebar, then copy the code snippet into your website’s codebase. If you’re not a developer and aren’t sure where to add this code, try asking ChatGPT.
Customizing your widget
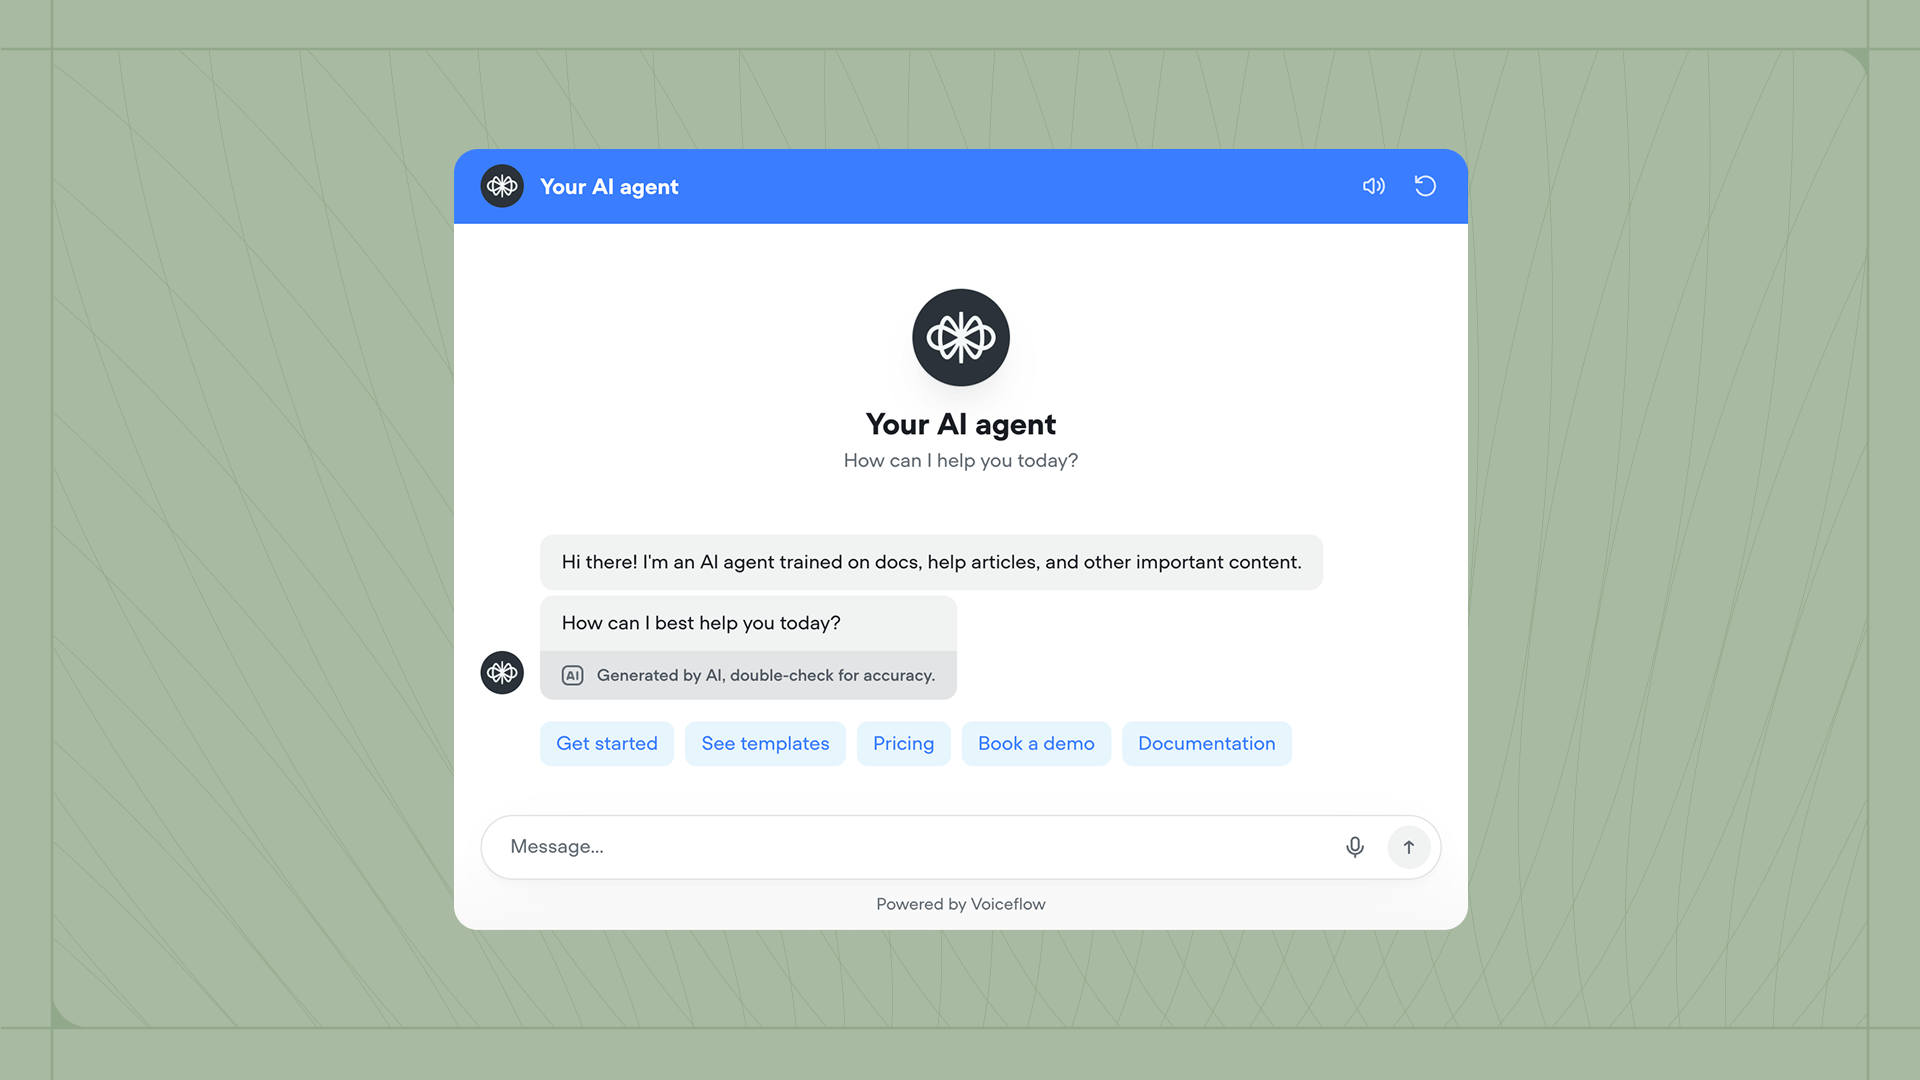
Your widget should match your brand. From the Widget settings page, scroll down to configure your agent’s colors, icons, launcher style, interface type, and more. You can also add placeholder text and privacy policy links. Customers on a Business plan can disable Voiceflow branding.Choosing a modality
The widget supports two modalities: chat and voice. You can configure this in Widget → Modality & Interface → Modaility. Chat modality is the default. Users type messages and see responses as text. This works well for most web use cases. With chat modality, you can optionally enable voice features:- Dictation allows users to input text using speech-to-text.
- Voice output lets users hear responses using the text-to-speech model configured in your project settings.
- Voice mode enables hands-free conversation. Once the user presses the voice button, they can speak naturally without pressing it again for each message.
Voice features consume credits. Learn more about credits.
Configuring security settings
Three Security options are available at the bottom of the widget settings page:- Approved domains restricts the widget to work only on specified websites.
- Legal disclaimer displays a message users must accept before chatting. Enable this if your company policy or local regulations require it.
- Chat transcript saving controls whether conversations are saved as transcripts. Disable this when processing sensitive information.